

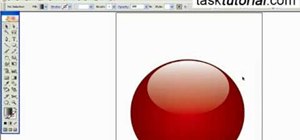
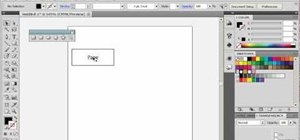
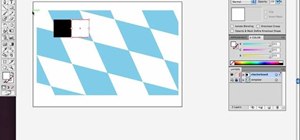
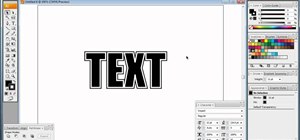
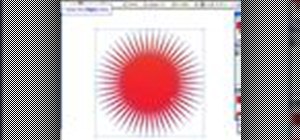
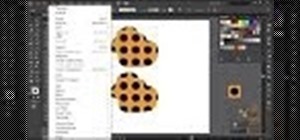
To create a Christmas ornament in Illustrator is very simple if you follow the steps below. Before starting the process one should ensure that all project files used in the tutorial is available. First by holding the shift key draw an oval, then go to gradient and create a new gradient which is at right side of the window. Now select red color and make it darker, then select 'Radiant' from the tool and switch the color positions. Select the ellipse tool once again and create a new shape on top of the old circle which should fill 40% of the circle and make it resize. Now change the 'Gradient' to 'Linear' and change the color, then select white and black and change the angle to (-90)degrees. Go to the 'Transparency' in the tool bar and select 'Screen blend mode'. Turn off the 'Stroke' in left side top of the window. Now select 'Rectangle' tool and create a new shape, open the layers and move your new shape below the bob. Now select the 'Dropper' tool and copy 'Gradient' from the elbow and change the 'Gradient' to 'Linear', then adjust the slider. Select white color and another lighter color and turn off the 'Stroke' color. Drag the top towards the center, select the 'Ellipse' tool and turn off the 'Fill' color. Now go to 'Stroke' and select 'Dark Ruby' color. Change the Stroke to '2'. Draw a circle over the bob and hence you got your 'Christmas Ornament'. If you follow the steps in this video, you'll have an idea on how to design the other objects or images like the Christmas ornament which you have done.
Just updated your iPhone? You'll find new emoji, enhanced security, podcast transcripts, Apple Cash virtual numbers, and other useful features. There are even new additions hidden within Safari. Find out what's new and changed on your iPhone with the iOS 17.4 update.


Be the First to Comment
Share Your Thoughts