1. To create a clipping mask in Adobe Illustrator, go to File menu select Place button. It will open a dialog box select any picture from there.
2. Click and Embed the image.
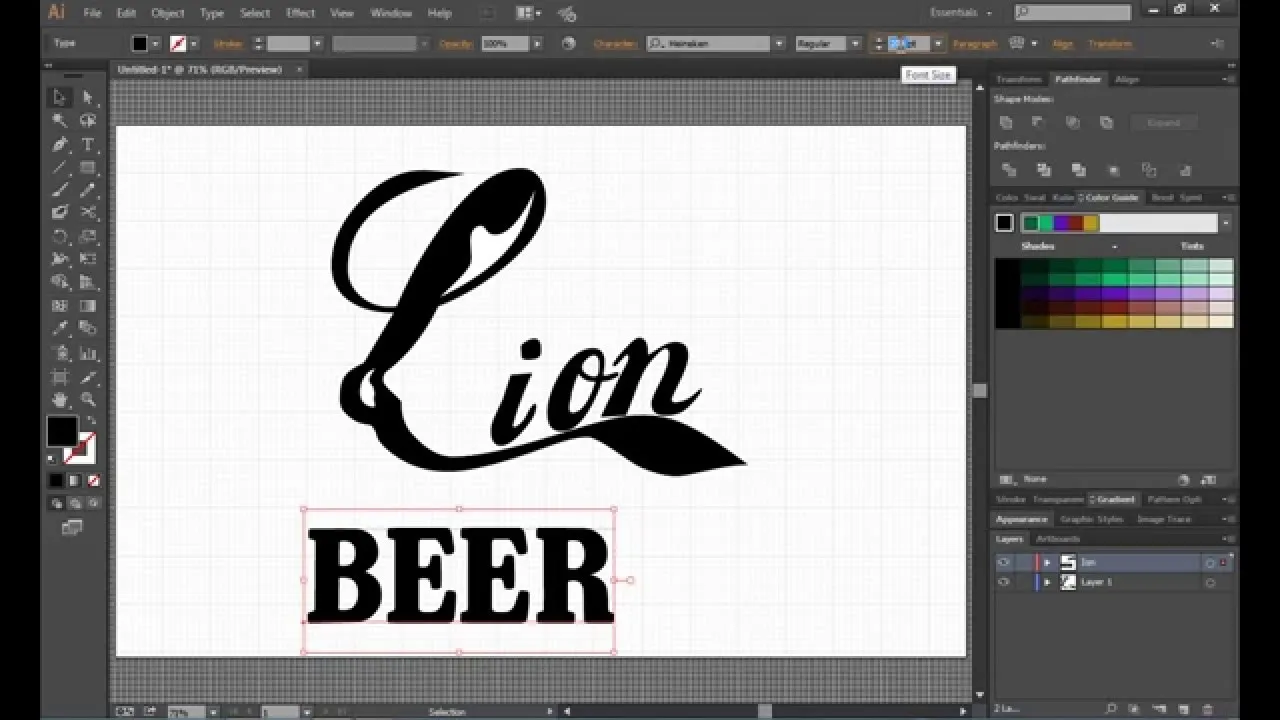
3. Now, to write a text click on the text button from the toolbar and write a text on the picture.
4. Now, holding Shift key select image. Go to Object menu select Clipping mask and choose Make. Now, clipping mask ready.
5. Now, Lock the text and select the image so we can move the image or we can lock the image also.
6. To Release, go to Object, Clipping Mask and select Release. To make select Make.
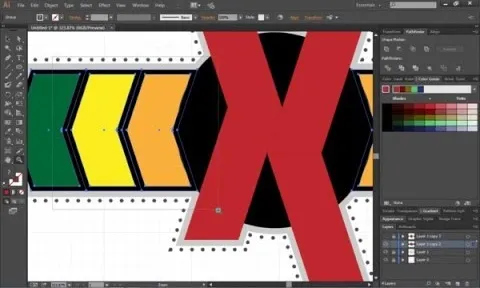
7. Select a big round select the text and fill with red color.
8. Select Path and define a path for clipping mask and shift it down in new Layer.








Comments
Be the first, drop a comment!