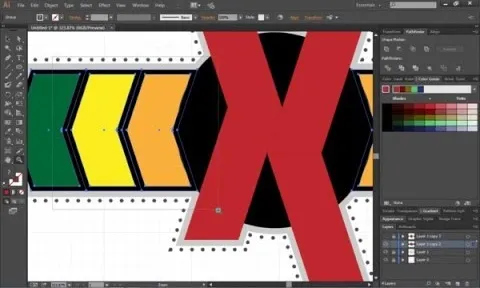
Using this tutorial, you will learn how to make a comic book style cloud in Adobe Illustrator. 1. First, select the ellipsis tool and draw a few shapes. 2. After drawing some shapes, select them and go to window and choose pathfinder. 3. Click to merge the shapes together. 4. Next, go to the layers window. Choose layer 3 and highlight the compound shape. Then select duplicate compound shape. After create one more duplicate. 5. Hide the first duplicate layer and choose the third one. Change the color to black. 6. Now move that shape around until you find a good spot for it to be a shadow. 7. Select your first compound shape and then select your second by holding shift + click. 8. Select pathfinder and choose the option second from the left. The foreground of the clouds should be transparent now. 9. Then now unhide the first compound shape of the stack. 10. Next, select your first shape and go to effects. Select stylize -> drop shadow. Hit preview. Change blend mode to normal and opacity to 30. Click OK. 11. Now select your bottom compound shape. Go to effects and select Blur -> Gaussian Blur. Set the radius to 10. 12. Move the compound shape to the top of the layer stack. If you have followed these instructions completely, you should have a great looking comic book style cloud.
Apple's iOS 26 and iPadOS 26 updates are packed with new features, and you can try them before almost everyone else. First, check Gadget Hacks' list of supported iPhone and iPad models, then follow the step-by-step guide to install the iOS/iPadOS 26 beta — no paid developer account required.








Comments
Be the first, drop a comment!