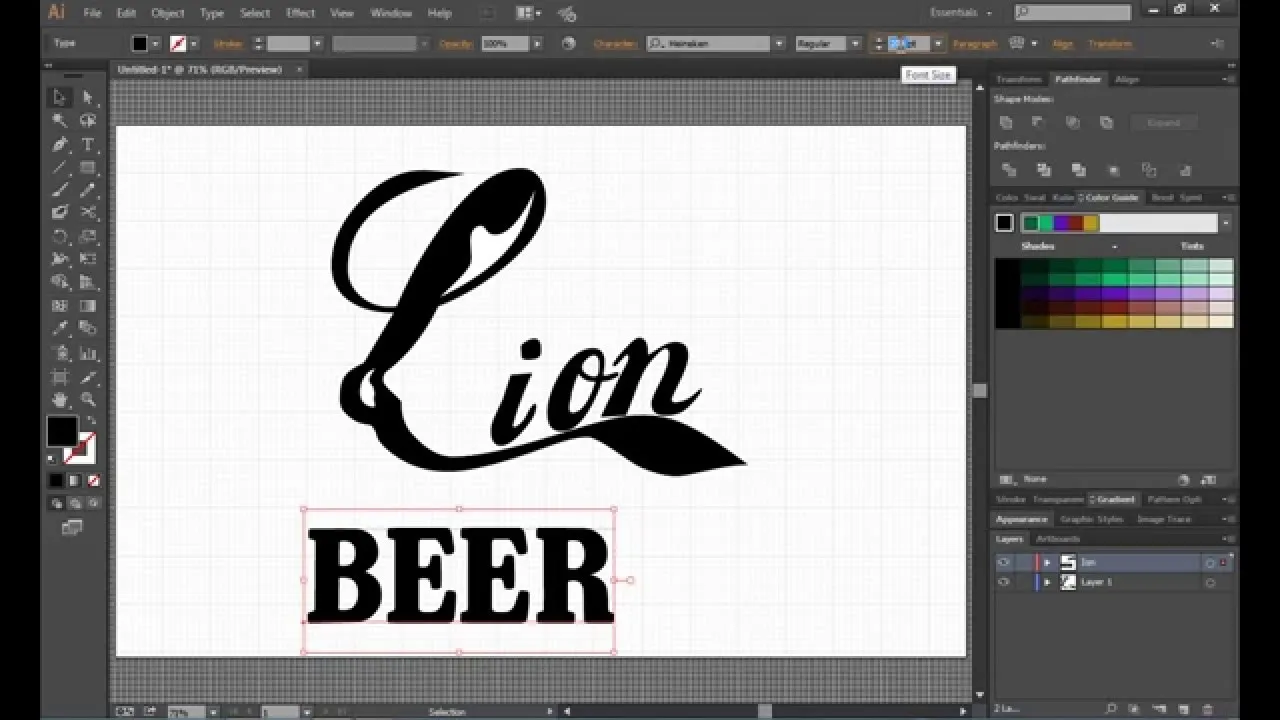
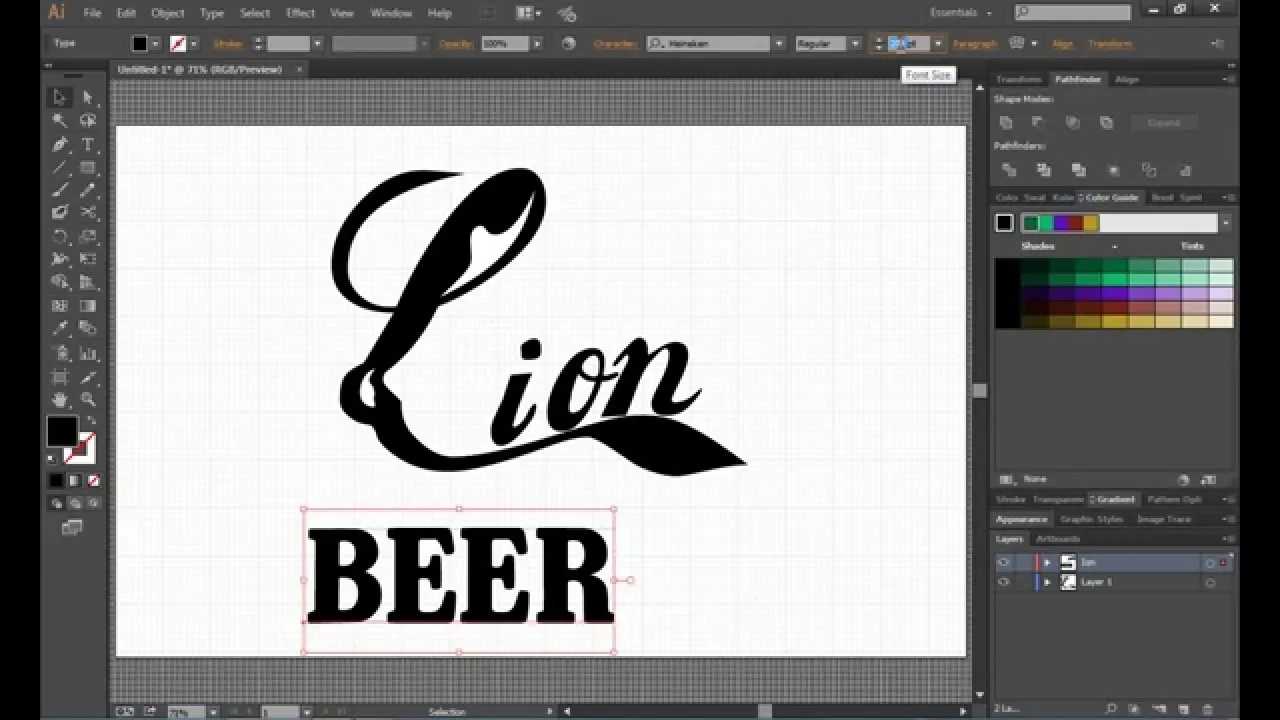
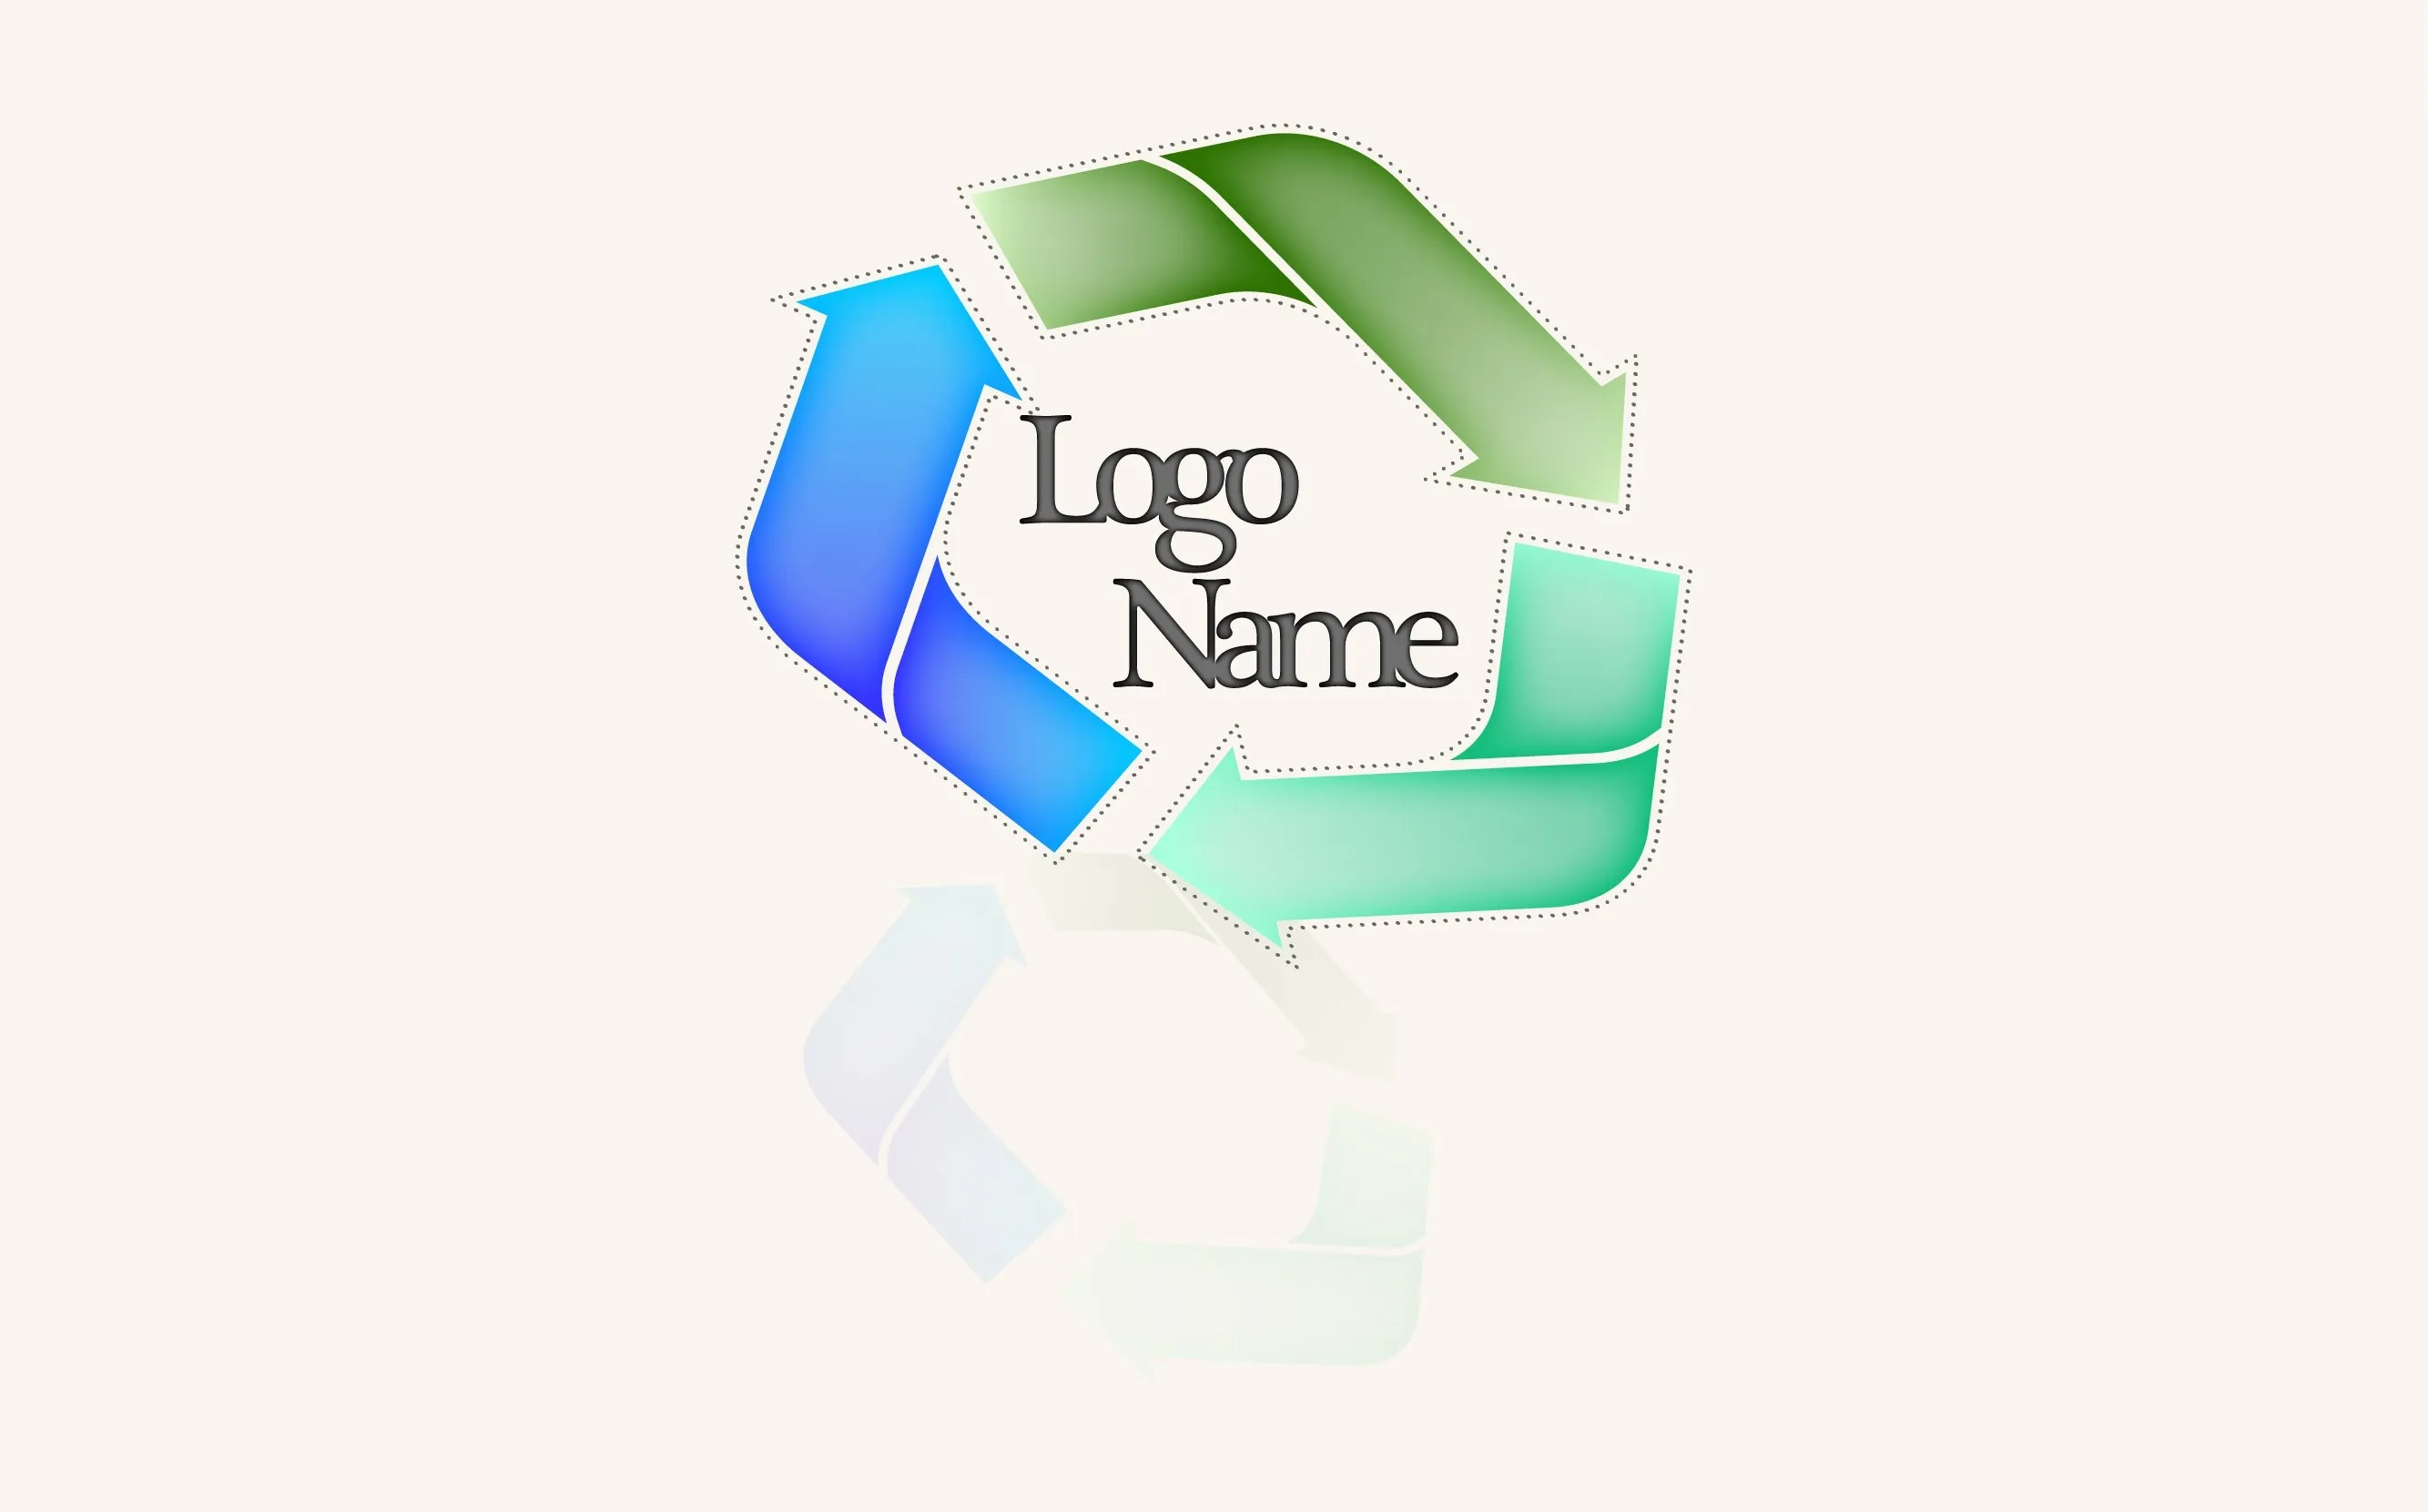
To create glossy or reflective vector image, you will need to know how to use the offset options in Adobe Illustrator and the basics for pathfinder. You will be creating a vector image that can be resized without hurting its quality. To start select you text style, which be glossy for this. You will have first a white layer, a shadow, a radiant layer, a white outline and a shadow going underneath. In this video the Oh Gizmo Logo! is being used as the template. Right click create outlines. You will need to, use the pathfinder tool and select everything then go shape mode and hit expand to create a compound path. Go to object, path, offset path. Also, select preview to enable seeing what you are doing. If the color is too dense readjust the numerical values. Make a white layer and a gradient layer. Make a vertical gradient, offset the path to create two layers and bring up a white border by selecting the layer and changing it to white. Push the next layer to the right with your keyboard arrows and then change the color to a dark gray. With the arrow select the gradient layer with the "Offset the path" again then hit Control C shortcut keys to copy. The Control F or Control B shortcuts create pasting in front or behind. In this procedure you want to paste behind so press Control B. Now select gradient layer, copy and Control F. Using the ellipse tool get a curve to create the gloss you like. If the glossy layer is too dense in color decrease the opacity, with the opacity tool. Duplicate the layer by choosing the shortcut Control C, put it in front with Control F, select the pen tool and make a wavy effect, with that path, cut out the section you just created with the pathfinder tool, change the color to white, make this into a vertical gradient and adjust the opacity. If you want to learn how to use pathfinder or Adobe Illustrator you can visit the following link for tutorial instruction at: http://www.Videze.com/AI_Tutorials]
Apple's iOS 26 and iPadOS 26 updates are packed with new features, and you can try them before almost everyone else. First, check Gadget Hacks' list of supported iPhone and iPad models, then follow the step-by-step guide to install the iOS/iPadOS 26 beta — no paid developer account required.







Comments
Be the first, drop a comment!