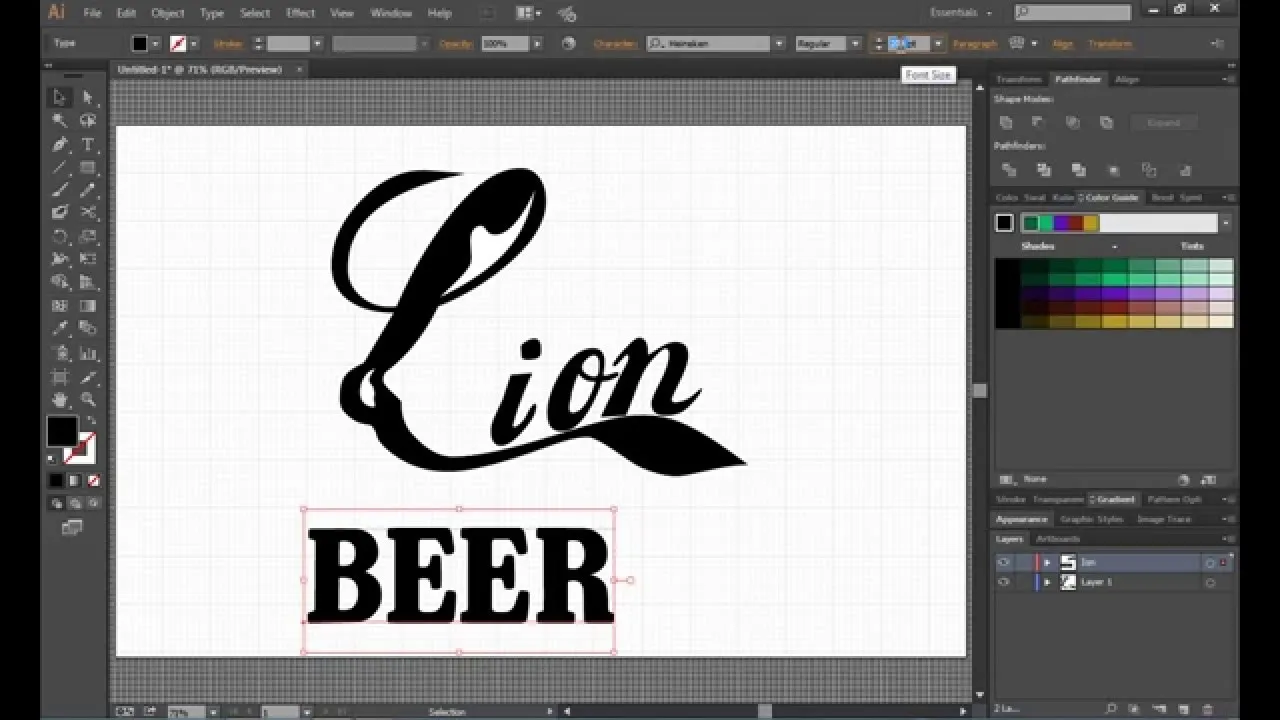
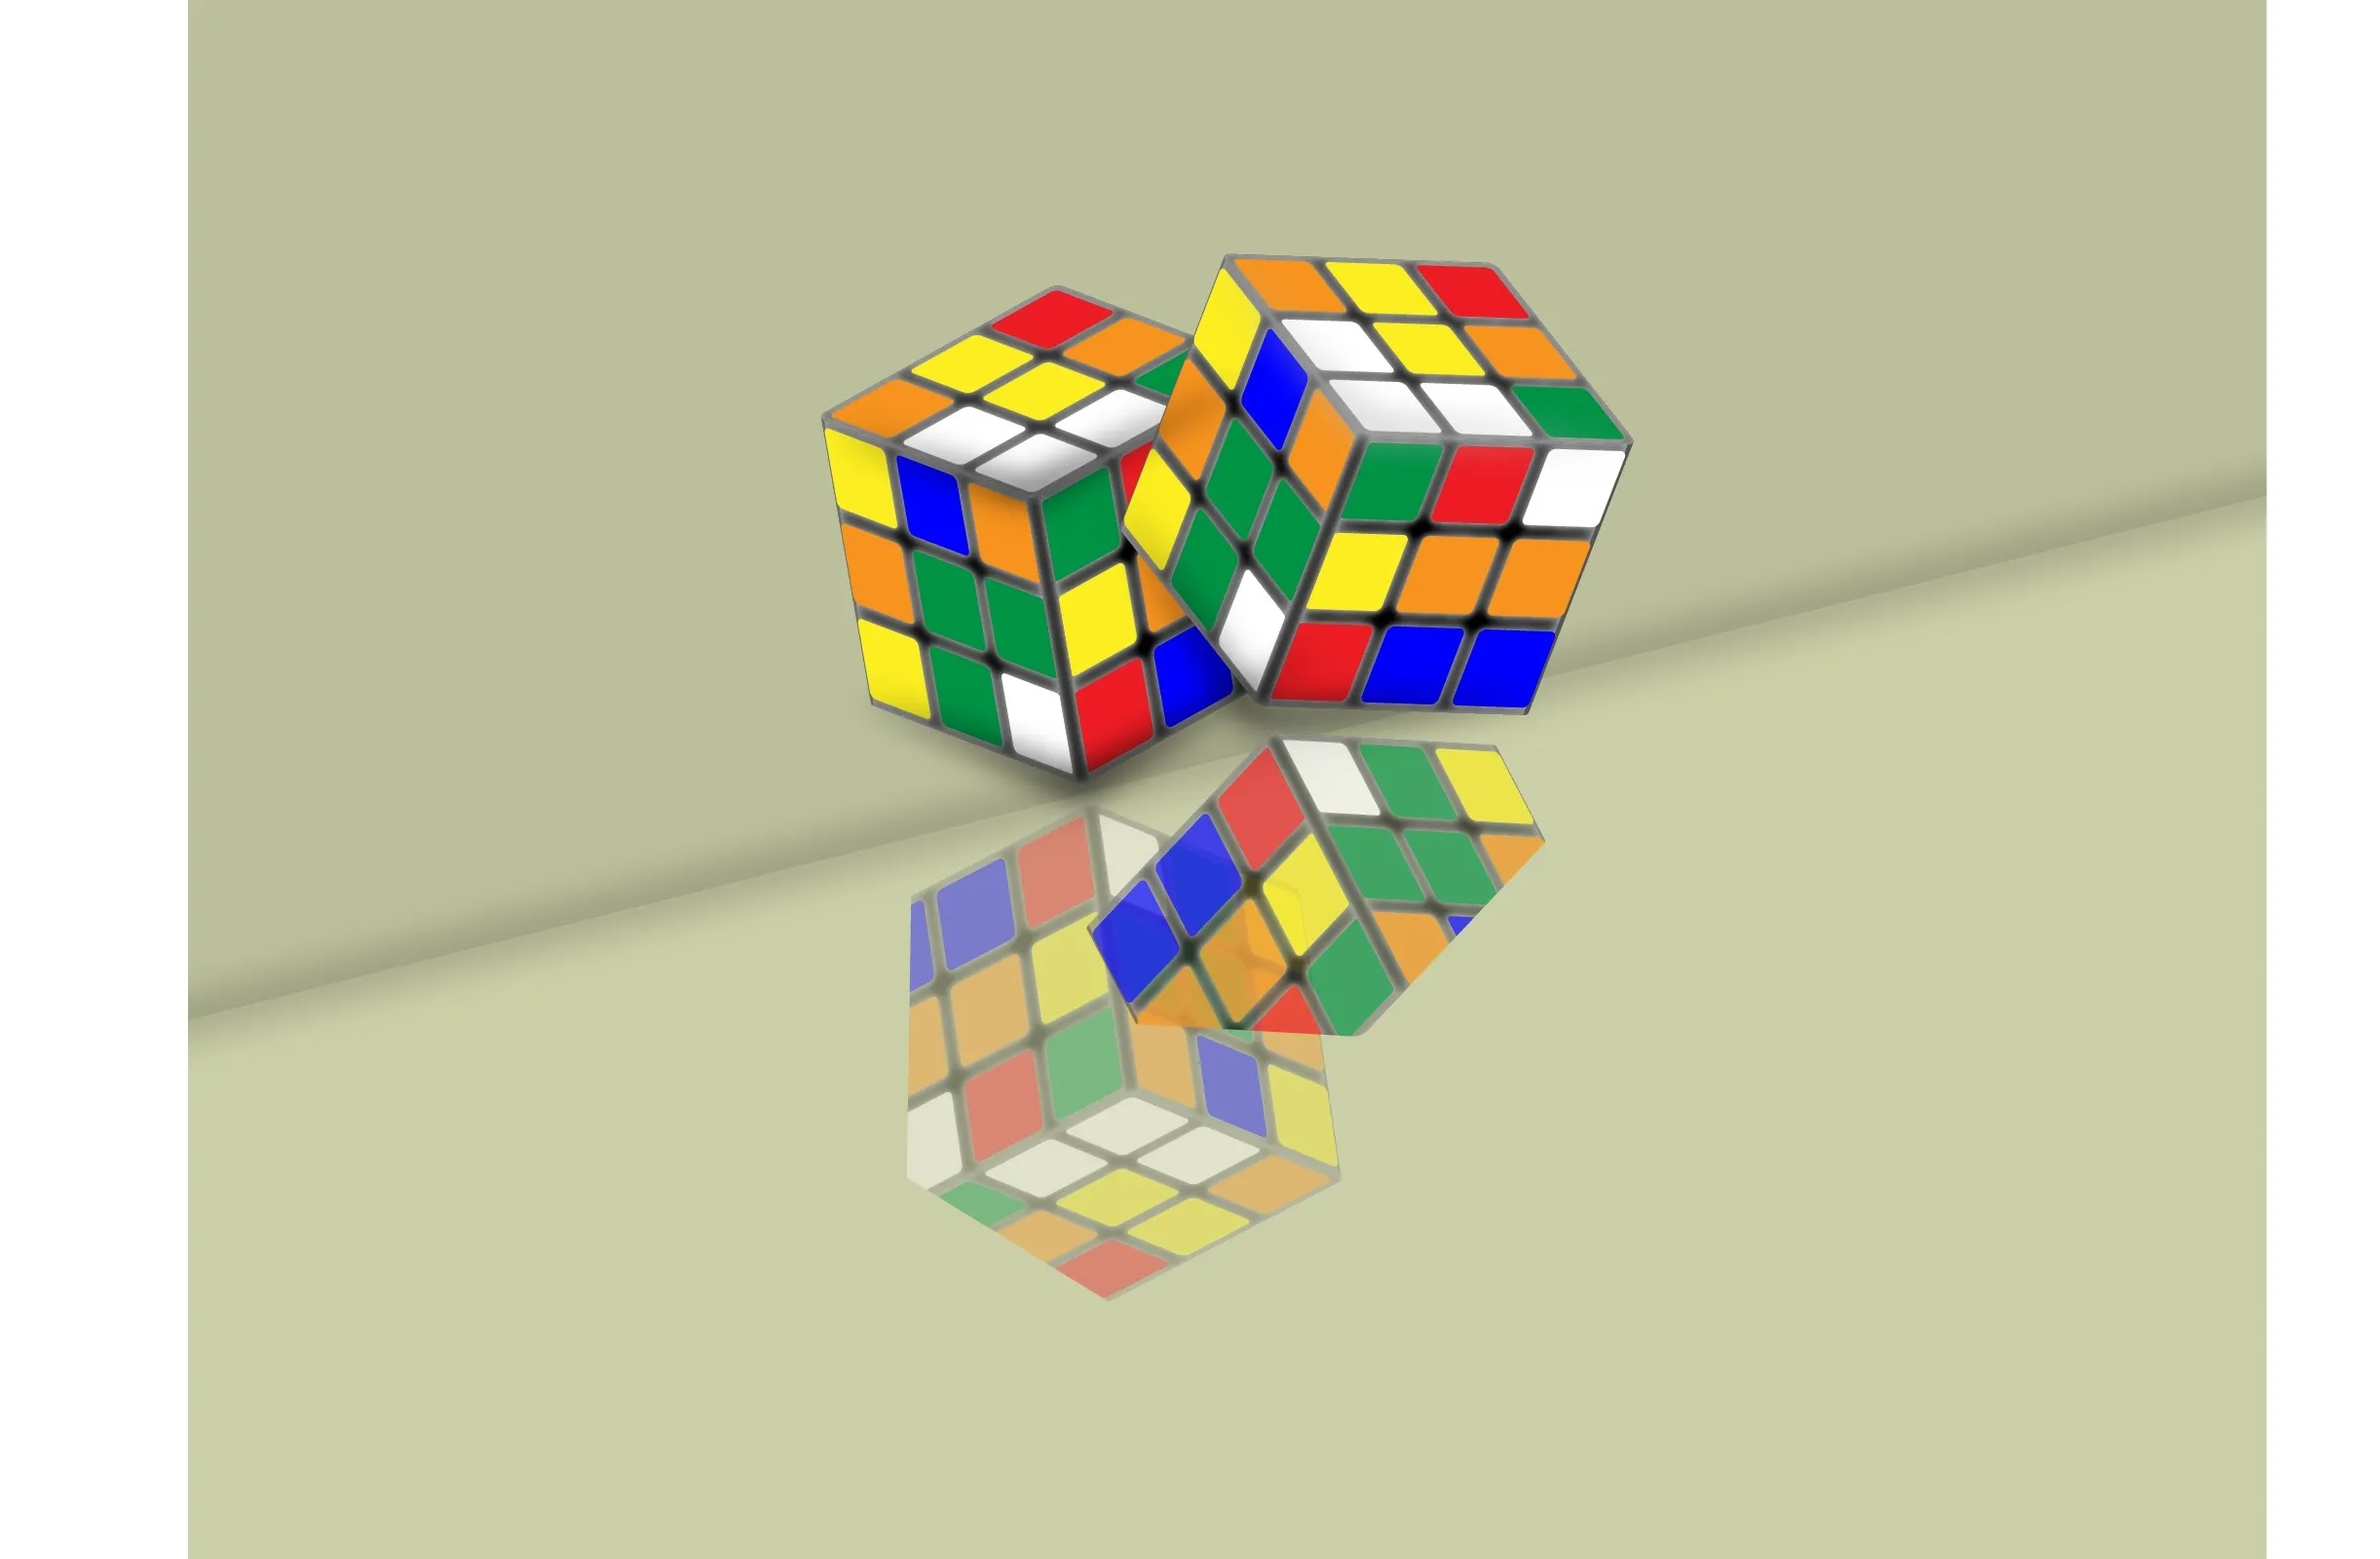
This video describes how to illistrate simple reflection and shadow tutorial using Adobe. The first thing you want to do is to get the image you are going to be working with, touch up the colors. Make sure the logo is cleaned up, and ready to use. Make it more useable by making it 140x25 cm. Make a copy of your imag, flip it upside down, make sure it is pretty close to the base of the other one. This will look like the first one has a reflection right under it. Next make a 142x 27 box, put it right under the logos, decise what kind of color you want on the grayscale, take the box move it up over the bottom image. Nex select the bottom box, change the transparency to where the bottom of the bottom box looks faded. This will make it look like it is a perfect reflection. Darken the reflection if you have to. Next make a box over your image, make it the gray and black color, make the black come down more over the gray, move the box up a little bit. Make nother copy of your logo, make the whole logo black. Add a light feather effect, give a little bit of a shear to it. Make it italic, to where it looks like its leaning. Take the image you copied, and put it behind your other imge so that it looks like a shadow. If you have to add a little bit of shear to it, to make it look like lights are going accross, feel free to do so. And ther you have it, Adobe illistrator simple reflection & shadow! Enojoy!
Apple's iOS 26 and iPadOS 26 updates are packed with new features, and you can try them before almost everyone else. First, check Gadget Hacks' list of supported iPhone and iPad models, then follow the step-by-step guide to install the iOS/iPadOS 26 beta — no paid developer account required.










Comments
Be the first, drop a comment!