Let TutVid teach you how to make metallic text is Adobe Illustrator CS3. This video shows you how to do it step by step. You only need basic knowledge of Adobe Illustrator CS3 to do this.
1. Start with a blank illustrated document. You don't need anything else to begin with.
2. Choose a fill color for your background. Create a rectangle of that color as Layer 1 of your project.
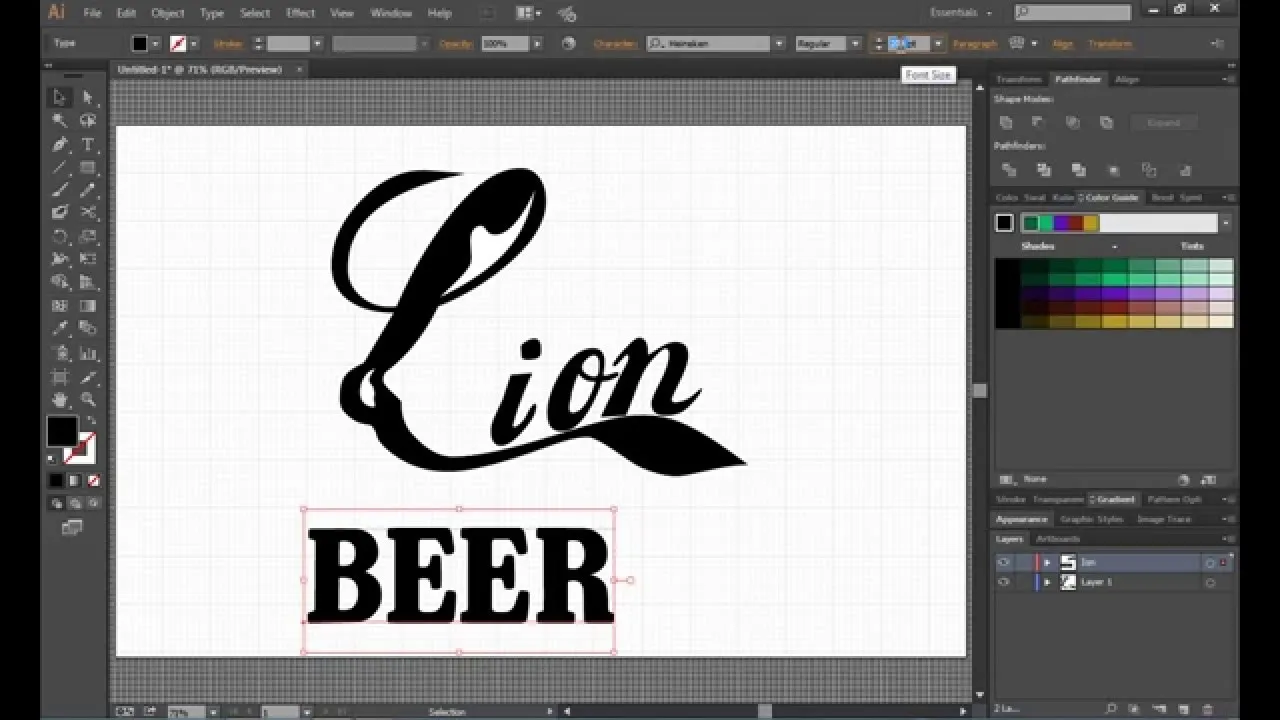
3. Create a second layer. Choose the text tool and choose a color, size and font. Type in your text.
4. Select the text. Open the window menu, choose type and choose Character (or press Ctrl+T) to open the character palette.
5. Make any changes you want, like text height or width percentage.
6. Right click on the text and create an outline. This turns the text into shapes.
7. Group select all the letters of your text and apply a color gradient of your choice. Change the options for the gradient.
8. Group select the letters and copy them. Open the edit menu and select paste in front to create an exact copy overlapping the originals.
9. Block the top layer and make it invisible and ungroup the letters in the bottom layer.
10. Select one letter, open the filter menu and select Distort and then Free Distort. Distort the letter inwards from the two top corners.
11. Click on the other letters, and apply free distort.
12. Regroup the letters. Flip the gradient angle (make it negative of the original).
13. Unblock the top layer and make it visible. Copy it and paste it in front again. Block the new top layer and make it invisible.
14. Select both groups of text visible and blend them. Go to blend options, choose specified steps and enter a high number (35 in the video).
15. Unblock the top layer and block the blended one. Copy the top layer again, paste it in front and block and turn off the new top layer again.
16. Remove the fill and add a stroke to the topmost visible layer. Expand it, fill it and change it as you want.
17. Add layers and repeat to add fun effects to your
Video not playing properly? Click here to see the original video










Comments
Be the first, drop a comment!