

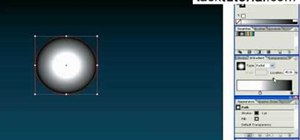
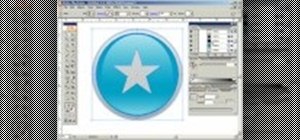
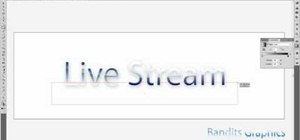
This video will show you have to make a glass bar in Photoshop. Adobe Photoshop is a great program for manipulating photo and adding interesting effects to your pictures. The glass bar is distinctive because of it's colored shading.
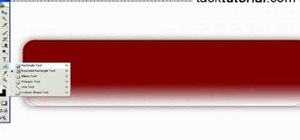
Step 1
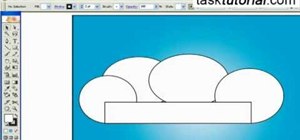
Select the round rectangle tool from your tool bar and draw a long rectangle in the shape and size you want the navigation bar to be.
Step 2
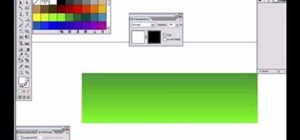
Select the "Fill" button and fill this shape with a glassy color like light gray or aqua blue.
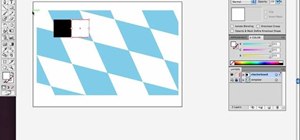
Step 3
Right-click on the rectangle, then click the "Make Selection" choice from the drop-down menu.
Step 4
Create a new layer by selecting "Layer" on the top of your screen and then "New Layer" from the slide-out menu bar.
Step 5
Draw a smaller round rectangle by selecting the round rectangle tool inside the navigation bar. It should be just below the top and extend all the way across the bar.
Step 6
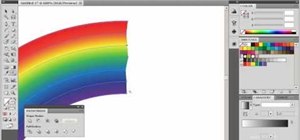
Select the gradient tool and fill in this small rectangle with a white fade that goes down the shape. You will have to select the color for the fade in order to do this. Just select the gradient tool, then choose "color" and change the color to the fade you like. Or select a gradient style from the Style box.
Step 7
Add additional shading in a new layer if you like. Just select the Layer, New Layer option as you did in Step
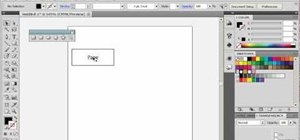
Step 8
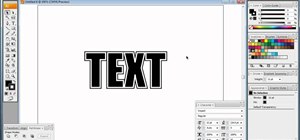
Add text by selecting the Text tool, adjusting the text box over your navigation bar and typing in your text. You can type in all the navigation bar text, then use the Slice tool to cut the navigation bar into smaller images and place them on your web page.
Just updated your iPhone? You'll find new emoji, enhanced security, podcast transcripts, Apple Cash virtual numbers, and other useful features. There are even new additions hidden within Safari. Find out what's new and changed on your iPhone with the iOS 17.4 update.


Be the First to Comment
Share Your Thoughts